6 Diode
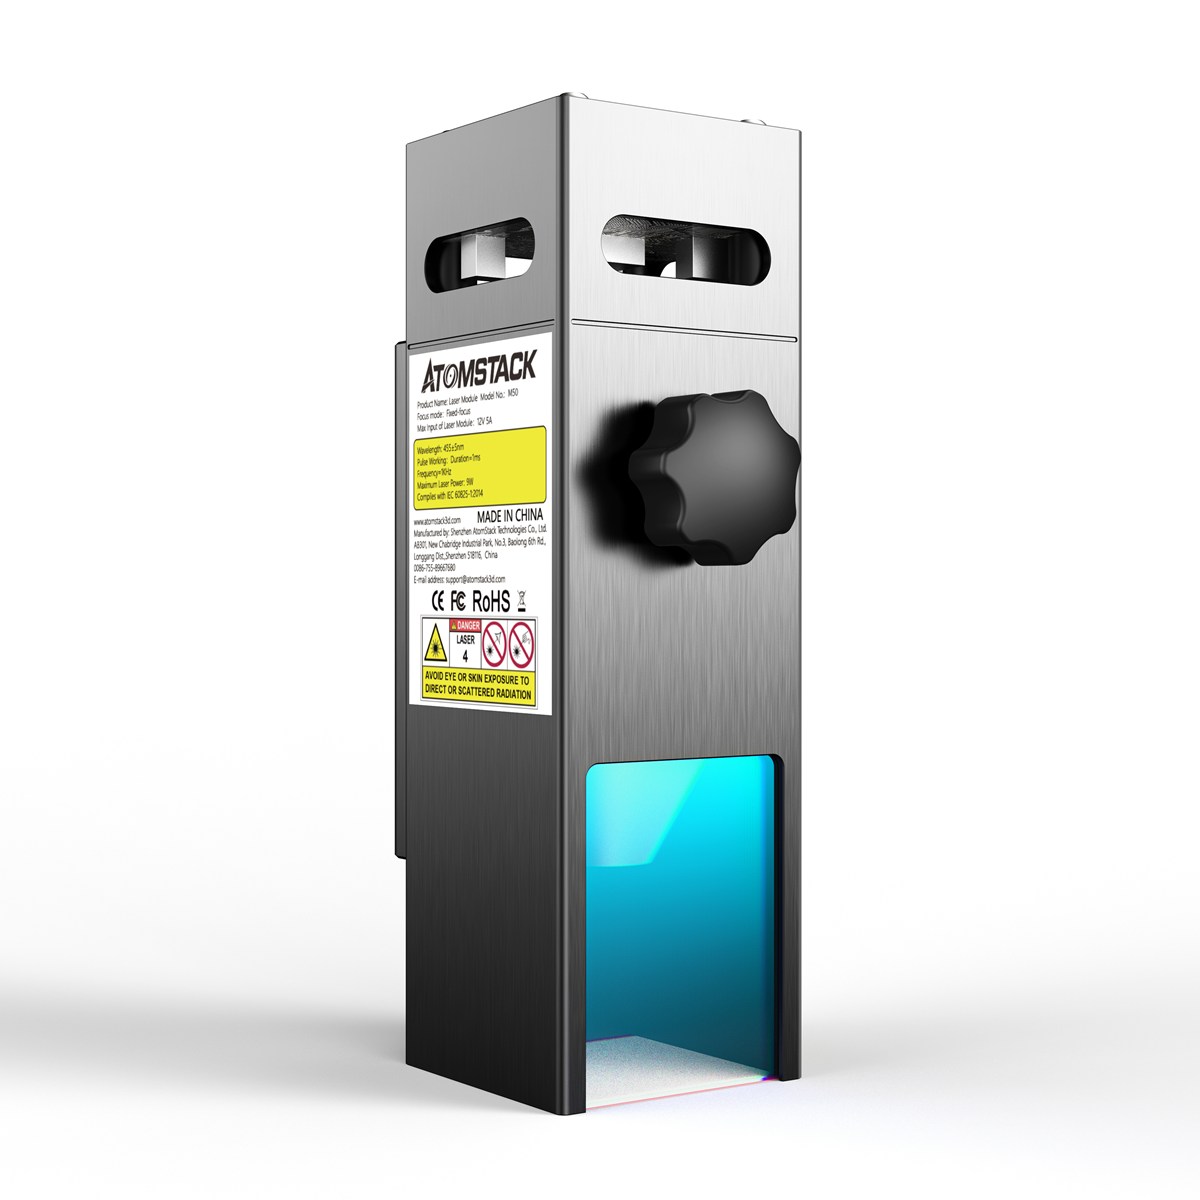
Atomstack
Lunyee
Brilliance
Full Line




| Infrared 2 Watt (Metal Etcching) |
Videos |
30 Watt 6 Diode |
20 Watt |
10 Watt |
5 Watt |
||
 |
Laser Tree Atomstack Lunyee Brilliance |
 |
 |
||||
| Tomtop Atomstack |
Laser Tree Full Line  |
Lunyee Ebay |
Ebay Fixed Focus |
||||
 |
Zbaitu |
||||||
| Tomtop |
|||||||
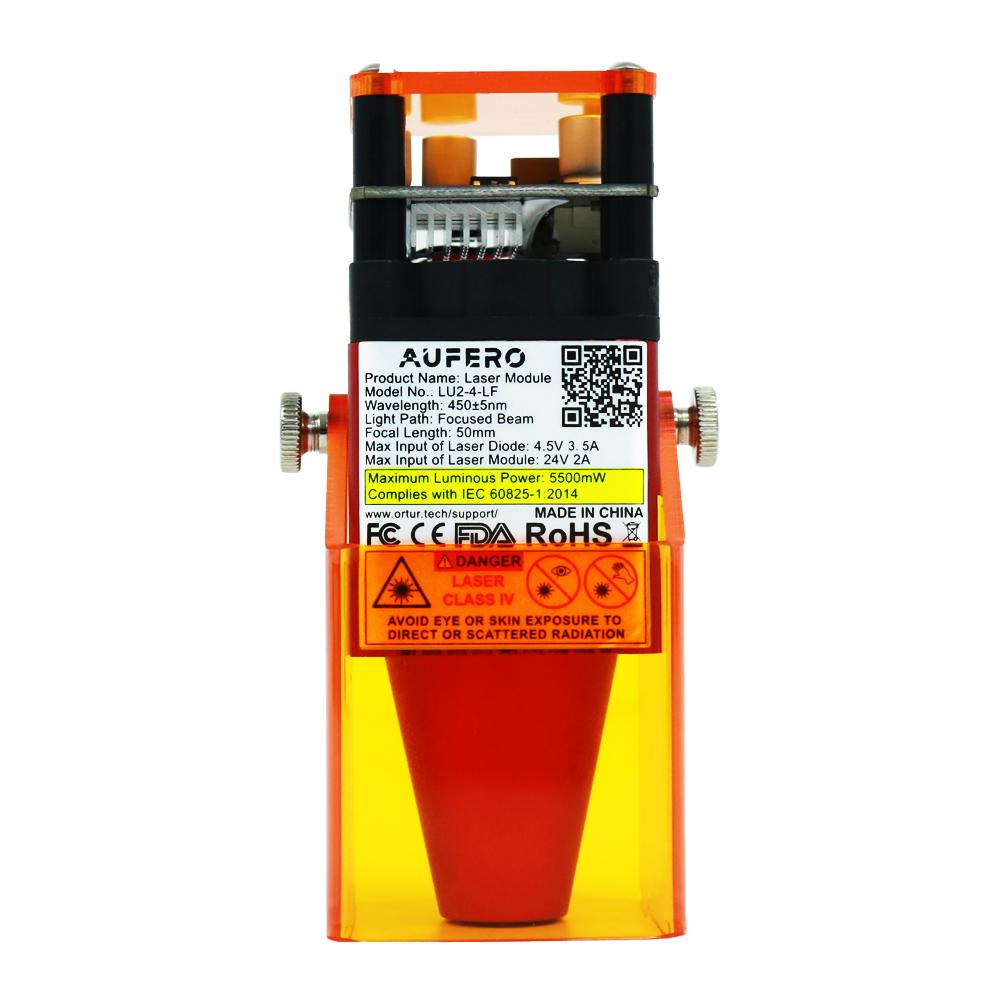
| Ortur |
|||||||
 |
|||||||
 |
|||||||
 |
| Watts |
80 |
50 |
40 |
30 |
20 |
10 |
.5-15w |
| 259 4 |
137 2.74 |
109 2 |
60 2 7.5o |
42 2 |
65 5 |
50-133 8 Variable Focus |

Hard limit work basically the same as soft limits, but use physical switches instead. Basically you wire up some switches (mechanical, magnetic, or optical) near the end of travel of each axes, or where ever you feel that there might be trouble if your program moves too far to where it shouldn't. When the switch triggers, it will immediately halt all motion, shutdown the coolant and spindle (if connected), and go into alarm mode, which forces you to check your machine and reset everything.
To
use hard limits with Grbl, the limit pins are held high with an
internal pull-up resistor, so all you have to do is wire in a
normally-open switch with the pin and ground and enable hard limits with $21=1. (Disable with $21=0.)
We strongly advise taking electric interference prevention measures. If
you want a limit for both ends of travel of one axes, just wire in two
switches in parallel with the pin and ground, so if either one of them
trips, it triggers the hard limit.
Keep in mind, that a hard limit event is considered to be critical event, where steppers immediately stop and will have likely have lost steps. Grbl doesn't have any feedback on position, so it can't guarantee it has any idea where it is. So, if a hard limit is triggered, Grbl will go into an infinite loop ALARM mode, giving you a chance to check your machine and forcing you to reset Grbl. Remember it's a purely a safety feature.
Ahh, homing. For those just initiated into CNC, the homing cycle is used to accurately and precisely locate a known and consistent position on a machine every time you start up your Grbl between sessions. In other words, you know exactly where you are at any given time, every time. Say you start machining something or are about to start the next step in a job and the power goes out, you re-start Grbl and Grbl has no idea where it is. You're left with the task of figuring out where you are. If you have homing, you always have the machine zero reference point to locate from, so all you have to do is run the homing cycle and resume where you left off.
To set up the homing cycle for Grbl, you need to have limit switches in a fixed position that won't get bumped or moved, or else your reference point gets messed up. Usually they are setup in the farthest point in +x, +y, +z of each axes. Wire your limit switches in with the limit pins and ground, just like with the hard limits, and enable homing. If you're curious, you can use your limit switches for both hard limits AND homing. They play nice with each other.
By default, Grbl's homing cycle moves the Z-axis positive first to clear the workspace and then moves both the X and Y-axes at the same time in the positive direction. To set up how your homing cycle behaves, there are more Grbl settings down the page describing what they do (and compile-time options as well.)